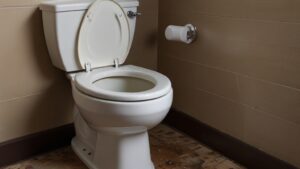
Installing a toilet can be a daunting task, especially when it comes to aligning it perfectly onto its floor bolts. My dad, a seasoned DIY enthusiast, has come up with a genius solution to make this process a breeze. In this article, I will share his step-by-step method, complete with practical examples and tips to help you tackle this common household challenge with ease.
Securing the Toilet Onto the Floor Bolts
Ensuring that your toilet is securely fastened onto its floor bolts is essential for both stability and proper functionality. Here’s how my dad achieves this with his tried-and-true method:
1. Position the Toilet: Start by carefully aligning the toilet over the floor bolts. Make sure that the wax ring is properly seated and that the toilet is level.
2. Use a Marker: Once the toilet is in position, ask a helper to hold it steady while you mark the location of the floor bolts on the base of the toilet using a pencil or chalk.
3. Drill Pilot Holes: Next, remove the toilet and drill pilot holes at the marked locations. These holes will guide the placement of the closet bolts that secure the toilet to the floor.
4. Install the Closet Bolts: Insert the closet bolts into the pilot holes, ensuring that they are securely in place. These bolts will serve as the anchor points for the toilet.
5. Set the Toilet in Place: Carefully place the toilet back onto the closet bolts, making sure to align it properly. Gently press down on the toilet to compress the wax ring and create a tight seal.
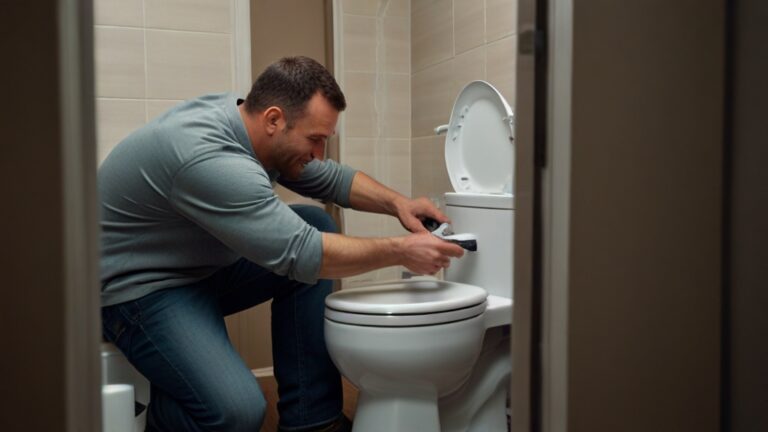
6. Secure the Toilet: Finally, tighten the nuts onto the closet bolts, alternating sides to ensure even pressure. Be careful not to overtighten, as this can crack the porcelain.
Additional Tips and Tricks
In addition to the step-by-step method outlined above, my dad also has some additional tips and tricks to share:
– Use a level to ensure that the toilet is properly aligned before securing it onto the floor bolts.
– Consider using a flexible wax ring for a better, more secure seal.
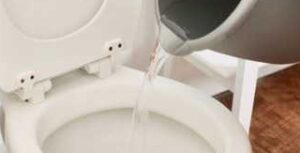
– Test the toilet for leaks by flushing it multiple times and checking for any water seepage around the base.
Have a Question? Here’s the Answer!
Q: Should I use caulk around the base of the toilet after installation?
A: While some people opt to caulk around the base of the toilet for a cleaner look, it is not necessary for a secure installation. If you do choose to caulk, make sure to leave a small gap at the back to allow for easy detection of any leaks.
Installing a toilet onto its floor bolts doesn’t have to be a stressful experience. By following my dad’s simple yet effective method and incorporating his tips and tricks, you can tackle this task with confidence and ease. Remember to take your time, double-check your alignment, and test for leaks to ensure a job well done. Share this article with your friends and family to help them conquer their own toilet installation dilemmas!