Ah, the joys of a brand new, never-used glass top stove! It’s sleek, shiny, and you can practically see your face in it. But what happens when an unfortunate mishap occurs and melted plastic ends up ruining your pristine stove? Don’t fret, my friend. We’ve got you covered with some simple steps to get rid of that gooey mess without causing further damage.
First things first, let’s remember to keep calm and not panic. Accidents happen, and the important part now is to tackle the situation properly. But before we delve into the cleaning process, let’s take a moment to understand the dangers of melted plastic on a glass top stove.
When plastic melts onto a hot glass surface, it can be a tricky task to remove. Using the wrong cleaning methods or abrasive materials can potentially scratch or damage the glass, leading to expensive repairs or the need for a replacement. We definitely want to avoid that!
Now, let’s get down to business and discuss how to safely remove melted plastic from your glass top stove:
1. Allow the stove to cool down: It’s essential to let the glass top cool completely before attempting any cleaning. This will prevent further damage to the surface and ensure your safety throughout the process.
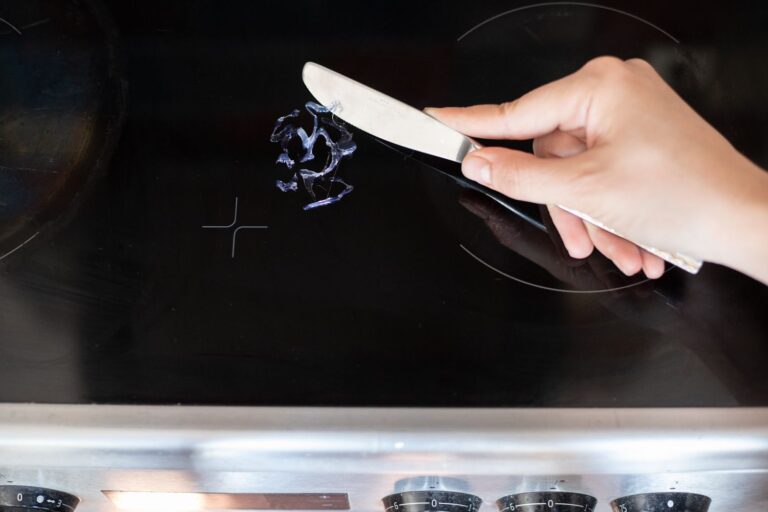
2. Gently scrape off excess plastic: Once the stove has cooled, take a plastic scraper or credit card and carefully scrape off as much of the melted plastic as possible. Be gentle to avoid scratching the glass.
3. Wipe with a damp cloth: After removing the excess plastic, dampen a cloth with warm water and gently wipe the affected area. This will help loosen any remaining residue and make it easier to remove.
4. Apply a glass stove-top cleaner: Using a specialized glass stove-top cleaner, apply a small amount to a clean cloth or sponge and gently rub the area with the melted plastic. Make sure to follow the manufacturer’s instructions for the specific cleaner you’re using.
5. Rinse and dry: Once the plastic residue is removed, rinse the stove-top thoroughly with water and dry it with a soft cloth. This will ensure a clean, shiny finish.
Maintenance Tips for Your Glass Top Stove:
– Avoid placing plastic bags or other flammable materials on the stove while in use. As you experienced, this can lead to accidents and melted plastic mishaps.
– Clean spills immediately: Don’t let spills or food residue sit on the glass surface, as they can become more difficult to remove over time. Promptly clean up any spills to maintain the stove’s pristine appearance.
– Use suitable cookware: Ensure your cookware has flat, smooth bottoms to prevent scratching the glass top. Avoid dragging pots or pans across the surface, as this can cause damage.
– Regularly clean the stove-top: Invest in a quality glass stove-top cleaner and use it regularly to keep your glass top looking shiny and clean. This will prevent the buildup of stubborn stains and residue.
Extra Q&A:
Q: Can I use an oven cleaner to remove the melted plastic?
A: It’s best to stick to a specialized glass stove-top cleaner. Oven cleaners can be too harsh and may damage the glass surface.
Q: Is there a homemade solution to clean a glass top stove?
A: Yes, you can create a mixture of baking soda and water to make a paste. Apply the paste to the melted plastic, let it sit for a few minutes, and then gently scrub with a non-abrasive sponge or cloth. Rinse and dry thoroughly afterwards.
Q: Will using a razor blade on the glass top remove the melted plastic?
A: Using a razor blade should be avoided as it can lead to scratches on the glass surface. Stick to plastic scrapers or credit cards for safer removal.
Remember, accidents happen to the best of us. By following these simple steps and practicing safe stove-top habits, you’ll have your glass top stove looking brand new again. Share this article with your friends who may also find it helpful in dealing with their own kitchen mishaps. Happy cleaning!